
Rightmove expects landscape images in a 3:2 ratio, and the file you upload should have its long edge set to 1024 px, giving finished dimensions of 1024 × 683 px. Anything cropped to a different ratio gets centre-cropped automatically, gallery thumbnails display at 656 × 437 px, and search result tiles show at just 224 × 149 px. Export to 3:2 before you upload; keep a larger master file for your own archive.
TL;DR:
- Using landscape images shot in 3:2 ratio with a long edge of 1024 px ensures optimal display across all Rightmove contexts, including thumbnails and gallery views.
- Center-framing and shooting interiors landscape prevents losing key details during automatic cropping when images are resized or cropped to fit the fixed containers.
- Export files as JPG at 75-85% quality with sRGB color profile and keep a larger master copy for archive or print use to maintain flexibility.
- Uploading five or more well-chosen images, especially an exterior shot first, significantly increases lead engagement but exceeding ten images can dilute listing quality.
- When natural light or interior conditions are poor, visualisation services using CGI can produce images that meet Rightmove specs without cropping surprises.
Table of Contents
- What is the correct Rightmove image size and aspect ratio?
- Why aspect ratio and cropping matter on Rightmove
- Recommended export settings from capture to upload
- A practical workflow from shoot to live listing
- How many photos actually move the needle?
- When photography alone isn’t enough
- What the specs don’t tell you
- Getting your listing visuals Rightmove-ready with Visualtrick
- Sources
What is the correct Rightmove image size and aspect ratio?
Rightmove’s own customer guidance is unambiguous: a 3:2 aspect ratio, landscape orientation, with images accepted up to 1024 px on the long edge. This resolves to 1024 × 683 px, which the portal’s own hub guides treat as the recommended size for every uploaded photo.
| Display context | Dimensions | Notes |
|---|---|---|
| Optimal export (upload) | 1024 × 683 px | The practical display ceiling; larger files get downsampled |
| Property gallery | 656 × 437 px | Main listing view most buyers scroll through |
| Search results tile | 224 × 149 px | The thumbnail that decides whether someone clicks at all |
A few practical points worth pinning to your export preset:
- JPG is the safest format; Rightmove’s own guidance and photographer forums both flag HEIC files exported straight from an iPhone as a recurring source of upload problems.
- Portrait shots get squeezed or cropped into the 3:2 frame, so shoot landscape from the outset.
- Rightmove Plus listings cap out at 60 photos, though very few listings need anywhere near that many.
Why aspect ratio and cropping matter on Rightmove
Rightmove’s display containers are fixed. If your source image isn’t already 3:2, the system centre-crops it to fit, which means whatever sits near the top, bottom, left or right edge is the first thing to disappear. A tall interior shot with a striking pendant light at the top and a rug pattern at the bottom will lose one or both the moment it’s squeezed into a landscape frame.
Framing decisions you make on-site prevent this rather than fixing it in the edit:
- Leave headroom above ceiling features rather than cropping tight to them in-camera.
- Avoid composing around a single vertical element (a tall window, a staircase) that a horizontal crop will slice.
- Keep the subject you actually care about (the fireplace, the view, the kitchen island) centred rather than pushed to one edge.
A poorly framed example: a bedroom shot taken in portrait, cropped to landscape, that loses the headboard detail and half the window. The correct version: the same room shot landscape from a lower corner, with the bed and window both inside the central third of the frame.
Pro Tip: Shoot a fraction wider than you need. It’s far easier to trim excess background in the edit than to recover detail that was never in the frame.
Recommended export settings from capture to upload
Getting the export settings right once, as a preset, saves you repeating this decision on every listing.
- Crop to 3:2 in your editing software’s crop tool, then export with the long edge set to 1024 px. If you want an archive copy, keep a larger 3:2 master (for example 3840 × 2560 px) and produce the 1024 × 683 px file as a separate Rightmove-specific export.
- Choose JPG as your file format. Rightmove’s guidance confirms JPG works reliably; PNG and WebP are generally accepted too, but JPG remains the safest default, and HEIC files exported directly from phone cameras have caused documented upload issues for UK photographers.
- Set the colour profile to sRGB. Adobe RGB files can look duller or shift colour once displayed on the web.
- Export at roughly 75-85% quality. This keeps file size sensible without introducing visible compression artefacts on Rightmove’s downsampled display.
- Apply light output sharpening for screen, not print. Downsampling softens detail slightly, and a small sharpening pass compensates for that.
- Name files clearly (front_exterior.jpg, kitchen_01.jpg) so agents can sequence images correctly without opening every file first.
Pro Tip: If you shoot in Lightroom or Capture One, build this entire sequence into a single export preset once. It removes the temptation to rush the final export step on a busy listing day.
A practical workflow from shoot to live listing
Treat the shoot, the edit and the upload as three separate checkpoints rather than one continuous task, and fewer images will need reshooting.
- On site: shoot landscape throughout, bracket exposures in rooms with mixed lighting, and capture the exterior hero shot first while the light is still good.
- In the edit: crop every image to 3:2, correct any vertical or horizontal perspective distortion, convert to sRGB, and export the long edge at 1024 px. Keep a larger 3:2 master alongside the Rightmove-ready file if you’ll need it for print or a website later.
- On upload: check the preview thumbnail for each image before publishing, set the exterior shot as the primary image, confirm every file is the correct format, and open the listing’s enlarged view afterwards to check nothing has cropped unexpectedly.
Skipping that final check is how a cropped chimney or a clipped doorway ends up live on a listing for weeks before anyone notices.
How many photos actually move the needle?
Rightmove’s own data shows a clear pattern: branches uploading five or more photos per listing see more leads on average than those uploading fewer. Its listing guides consistently recommend sequencing the exterior or a strong hero shot first, since that’s the image shown on search result tiles.
- Five photos is the practical minimum; most well-marketed sales listings run somewhere between five and nine.
- Rightmove Plus permits up to 60 images, but very few properties genuinely need that many, and padding a listing with repetitive angles dilutes the good shots rather than showcasing them.
- Floorplans should be legible at a reasonable zoom level. If room labels and dimensions blur when the buyer zooms in, the file resolution is too low.
- Sequence matters as much as volume: exterior first, then the rooms that sell the property (kitchen, living space, principal bedroom), then supporting shots.
When photography alone isn’t enough
Photography does the job for most listings, but some properties genuinely need a different visual approach. New-build plots with no finished interior to photograph, properties struggling under poor natural light, or homes where you want to show a proposed layout rather than the current one, all sit outside what a camera can capture.
That’s where CGI and virtual staging earn their place. There are services that prepare exterior and interior visualisations for property marketing, and deliverables can be exported to the same 3:2 ratio, sRGB colour profile and JPG format that Rightmove expects, so a rendered image slots into a listing exactly as cleanly as a photograph would. There’s no cropping surprise and no colour shift once it’s live.
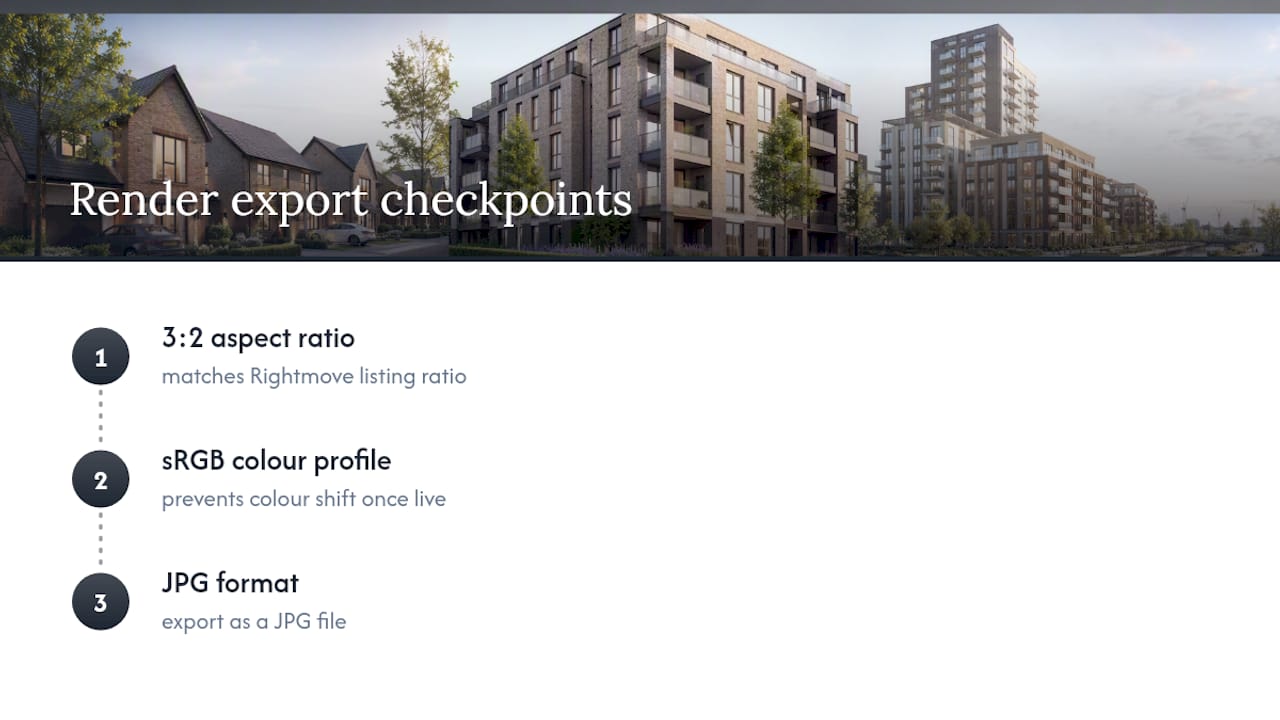
The cost of commissioning a render only makes sense when photography genuinely can’t deliver the shot: an unbuilt scheme, a dated interior awaiting refurbishment, or a hero exterior shot where the site itself is currently a building compound rather than a finished elevation.
What the specs don’t tell you
Rightmove’s technical guidance is precise on numbers and vague on judgement, and that gap is where most listings quietly underperform. Plenty of agents hit every pixel dimension correctly and still upload a weak set of photos, because 1024 × 683 px is a container, not a guarantee of quality.
The conventional advice, upload lots of photos, tends to work against sellers rather than for them. Rightmove’s own data points to five or more images improving lead volume, not sixty. Beyond roughly nine or ten well-chosen shots, you’re usually diluting a strong set rather than strengthening it.
What I’d prioritise first, ahead of any technical checklist: get the exterior hero shot right before worrying about anything else. It’s the only image most buyers see before deciding whether to click at all, and it’s shown at the smallest, harshest size on the entire portal, 224 × 149 px. A slightly soft interior shot is forgivable. A poorly framed exterior thumbnail costs you the click before the listing even loads.
— Paride
Getting your listing visuals Rightmove-ready with Visualtrick
If a property’s interior isn’t finished, the light is fighting you, or you need to show a scheme that only exists on paper, Some companies build visuals that photography can’t. Images can be delivered to Rightmove’s own specification, 3:2 aspect ratio, sRGB colour profile, JPG format, so there’s no cropping surprise once live on a listing.

Deliverables are scoped to what the listing actually needs: a single hero exterior render, a full interior set for CGI for interior designers, or a package sized specifically for exterior CGI where the site itself isn’t photogenic yet. Files arrive pre-cropped to the correct ratio and resized for both the Rightmove upload and a larger archive master, so there’s nothing left to convert before the listing goes live. If you’re weighing up whether a render or a reshoot solves your current listing problem, get in touch through the CGI for estate agents page and we’ll scope it against your deadline.
Sources
Rightmove’s own customer FAQ is the definitive reference for aspect ratio and pixel dimensions, and the Create the Ultimate sales listing hub guide backs up the photo-count and sequencing advice with the portal’s own performance data. For visual quality’s broader impact on engagement, TTOY Digital’s piece on professional photography is a useful companion read. For CGI and visualisation services prepared to these same specs, see Visualtrick.
- I need help with my property images – Customer FAQ’s
- Create the Ultimate sales listing (Rightmove hub)
